Introduction to Sourdough
Sourdough bread, with its distinctive tang and rustic charm, has been a staple in bakeries and kitchens around the globe. Its origins trace back to ancient civilizations, where fermentation was a natural method to leaven bread. Unlike commercial yeast, sourdough utilizes a starter culture, fostering a symbiotic community of bacteria and yeast that naturally exists in flour. This process not only leavens bread but also enhances its nutritional profile and digestibility.
Gathering Your Ingredients
For this classic sourdough loaf, simplicity is key. Here’s what you’ll need:
- 3 cups all-purpose flour
- 1 ½ cups lukewarm water
- ¼ cup sourdough starter
- 1 tsp salt
Each ingredient plays a pivotal role. The flour provides the structure, the water hydrates the dough, the starter brings the wild yeasts and bacteria to leaven the bread, and the salt adds flavor and regulates yeast activity.
The Art of Mixing and Fermentation
- Combining the Ingredients: Start by mixing the flour and salt in a large bowl. Then, add the sourdough starter and lukewarm water. The goal is to integrate everything into a shaggy dough, ensuring that the water is evenly distributed throughout the flour.
- Rest and Autolyse: Cover the bowl with a damp cloth and let it rest for 30 minutes. This step, known as autolyse, allows the flour to fully hydrate and begins gluten development, making the dough easier to work with.
- Stretch and Fold: Perform a series of stretch and fold techniques directly in the bowl every 30 minutes for about 4 hours. This method strengthens the gluten network, providing the loaf with structure and volume.
Shaping and Proofing
After the stretch and fold process, shape the dough into a ball. This step is crucial for developing a tight skin on the dough, which helps it hold its shape during baking. Place it seam side up in a well-floured proofing basket or a bowl lined with a clean kitchen towel. The dough then goes into the refrigerator for a slow fermentation process, ranging from 4 to 12 hours. This retardation enhances flavor complexity and improves texture.
Baking Your Loaf
Preheat your oven to 450°F (230°C) with a Dutch oven inside. This preheating step is essential for mimicking a professional baker’s oven, providing the steamy environment needed for the bread to rise properly.
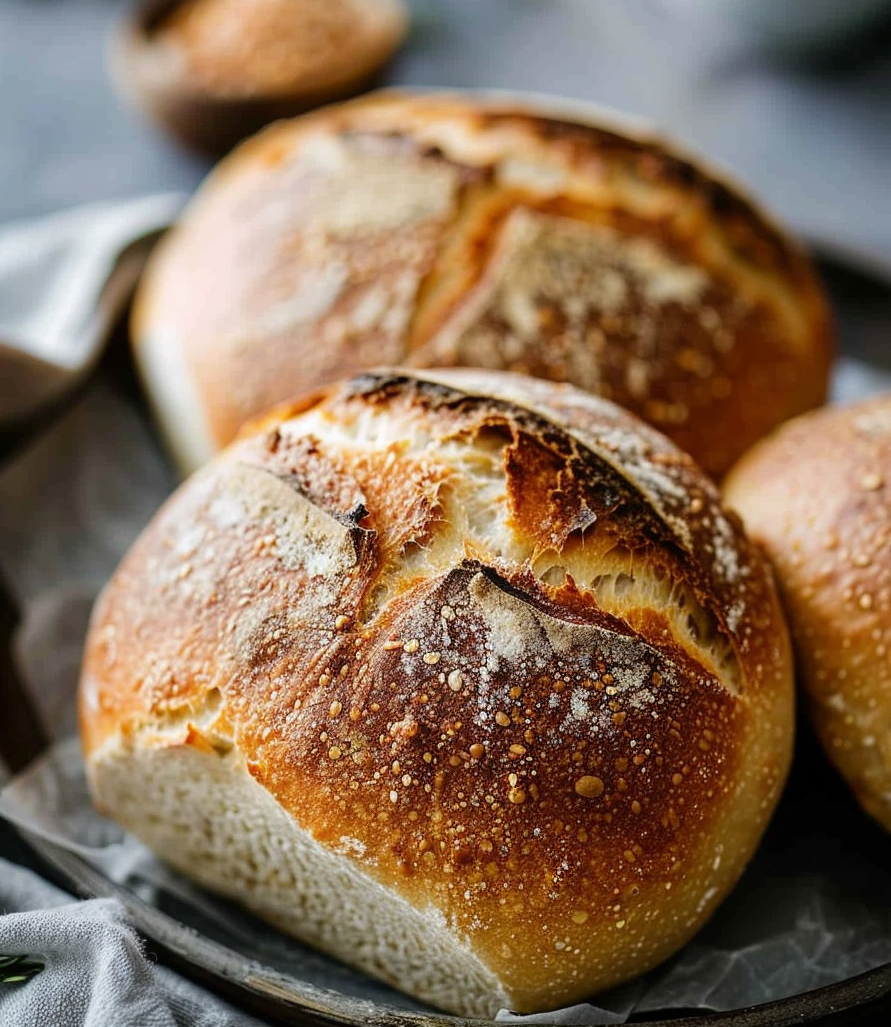
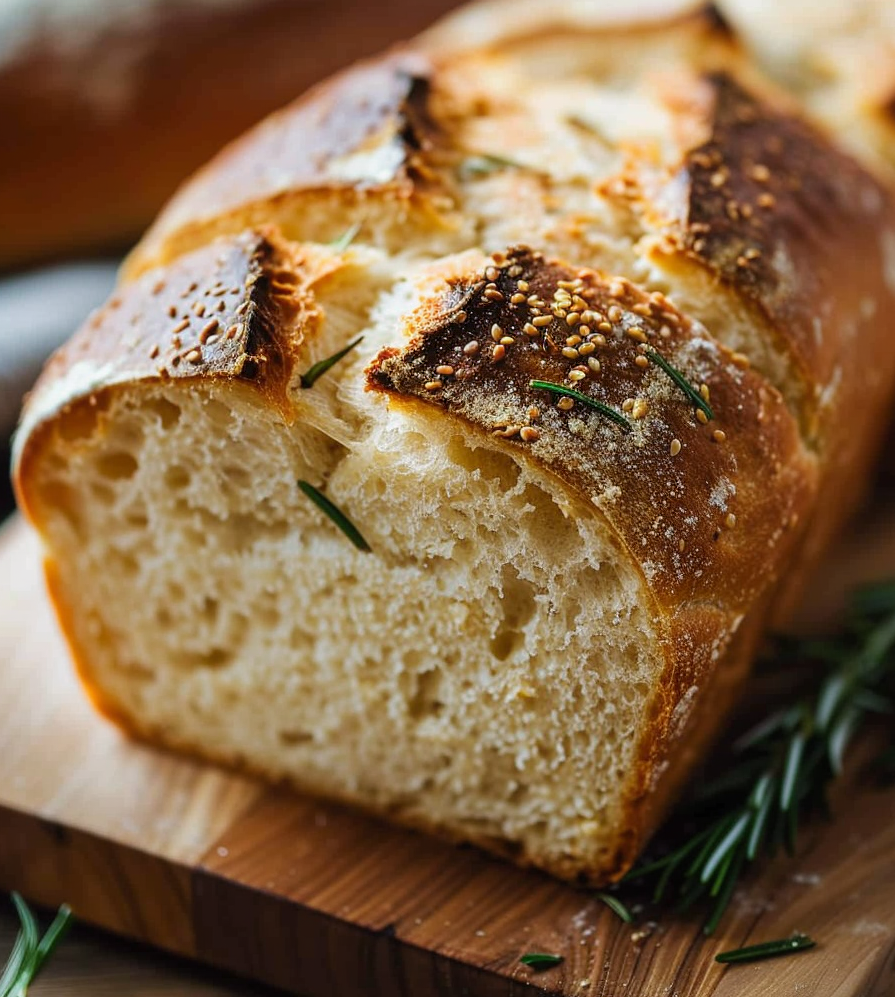
Carefully transfer the dough into the hot Dutch oven, score the top to control where the bread expands, and cover it. Bake for 20 minutes with the lid on to trap steam, then remove the lid and continue baking until the loaf is golden brown. This process creates the iconic crusty exterior and soft interior.
Cooling and Serving
Resist the temptation to slice into your bread immediately. Letting it cool on a wire rack for at least an hour is crucial. This cooling period allows the crumb structure to set and the flavors to develop fully.
Nutritional Information
Per slice, this sourdough bread is approximately 180 kcal, making it a nutritious addition to any meal. Its fermentation process also makes sourdough more digestible and reduces the bread’s glycemic index.
Conclusion
Creating sourdough bread is a labor of love, requiring patience and attention to detail. However, the satisfaction of slicing into your own hand-crafted loaf is unparalleled. This classic sourdough bread recipe is not just about baking; it’s an invitation to connect with the tradition, understand the science behind fermentation, and ultimately, enjoy the simple pleasure of homemade bread.
Remember, each loaf is a reflection of the environment in which it was made, making every sourdough bread unique. Embrace the process, experiment with fermenting times, and enjoy the journey of becoming an artisan bread maker.